Introduction:
Welcome to another Automatescale CRM feature tutorial. This time we are going to discuss a useful tool that you can use inside your Automatescale account to strengthen your marketing features. The thing is about call tracking. After reading this post you’ll learn how to track calls in Automatescale. So, get comfortable and let’s go!
What is Call Tracking and What is it used for
Call tracking is a recording tool that collects customer data about their location, who they are, what they represent, what they want, and transcripts of what they said. This system is used by many business owners who want to improve their website and make it more attractive according to their audience needs.
So, when you are well-aware of your customers’ needs, you better know how to attract them with your business offers. Each time you create a new marketing campaign you can set up new phone numbers to track.
Call traffic records every possible detail about the caller who’s interested in your service. When you set up this function, your software automatically kicks on and records information for your further preview.
How to Set Up Number Pools for Call Tracking
Also called ‘call tracking codes’, number pools are a great way to track the calls. Below we have a step-by-step guide for you to learn how to use call tracking in your Automatescale sub-account.
Go to your Automatescale sub-account.
Go to ‘Settings’.
Scroll down until you see ‘phone numbers’.
Then go to ‘Add Number Pool’.
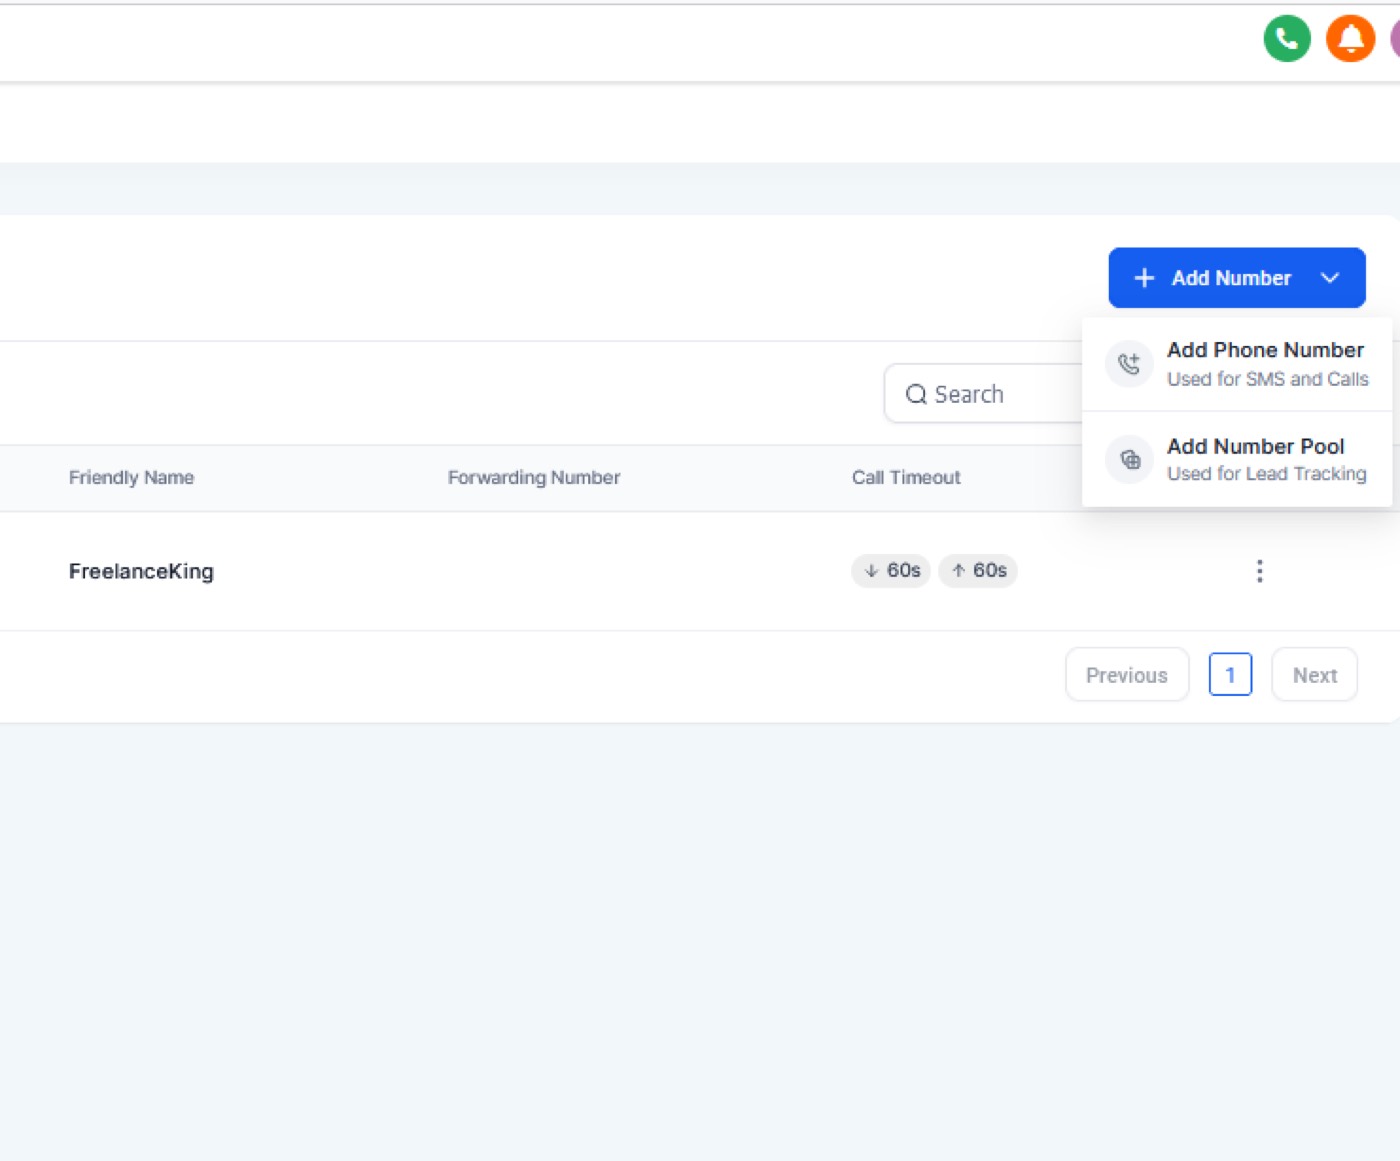
Click on ‘Track visitor activity’.
Click on ‘Next: Create Pool’ to pick the visitors you want to track. It’s recommended to select ‘All visitors’.
Fill in all the required information.
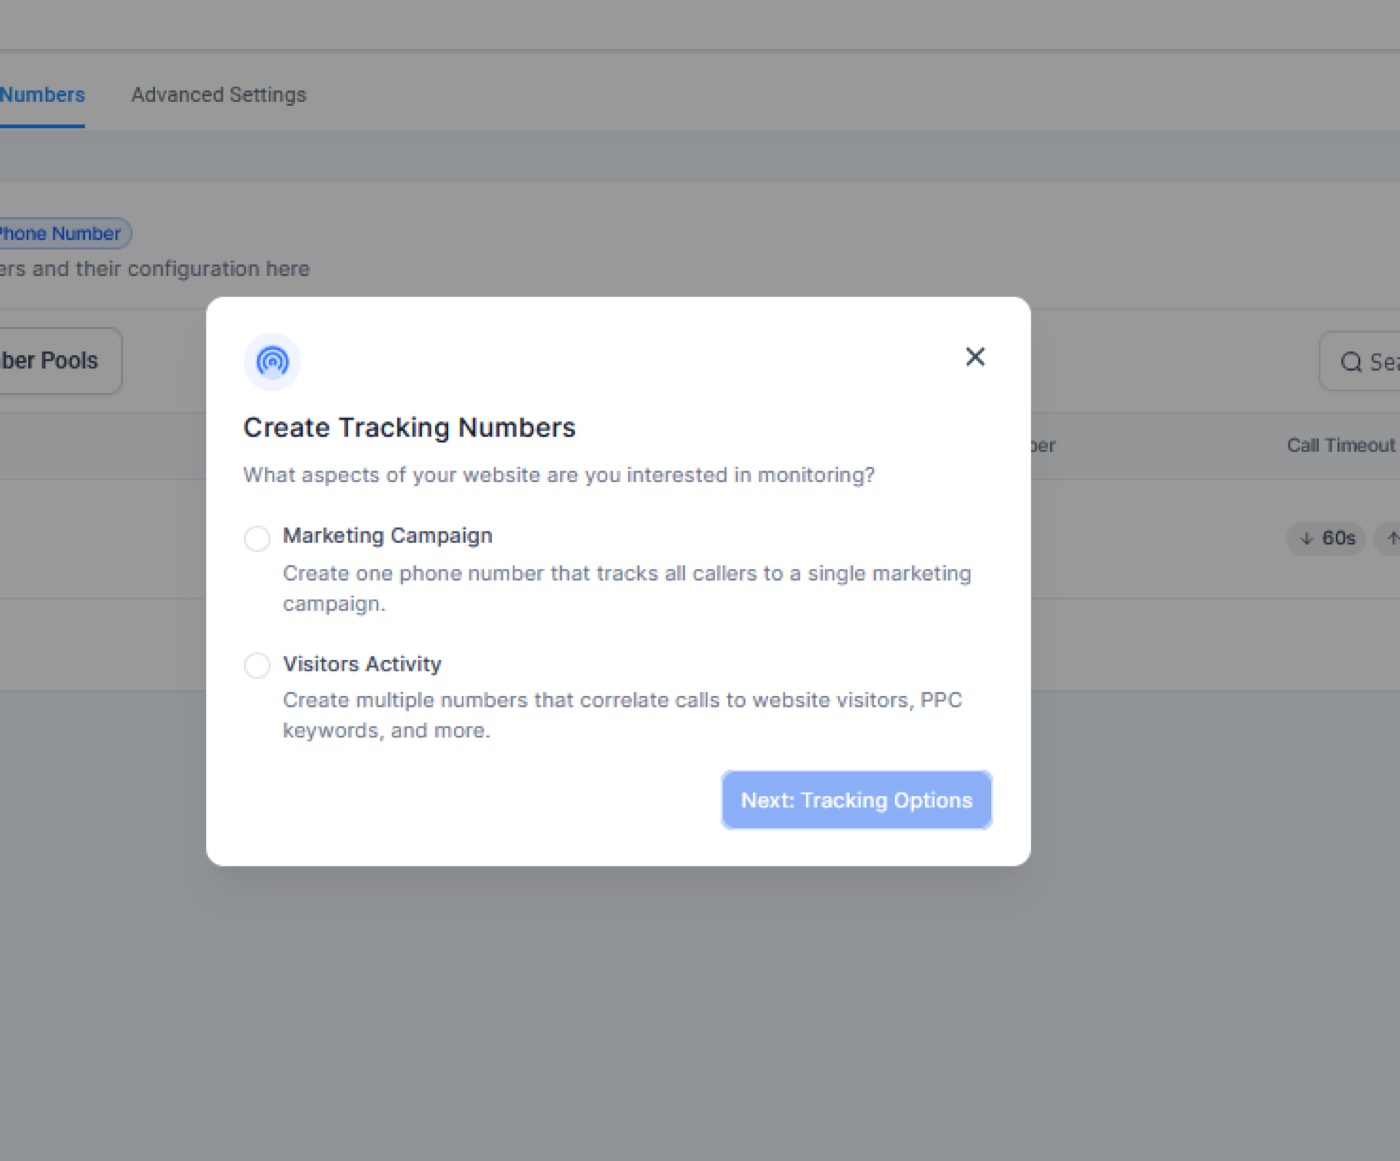
Click on ‘Next:Tracking Options’.
Go to ‘Phone Numbers’.
Set up ‘Whisper message/ Call Recording’ and click on ‘Activate Number’.
Now you have your number pool set up and you can integrate the snippet on your website.
Copy the ‘Normal Snippet’.
Swapping the numbers in the Entire Website/Funnels:
Go to ‘Sites’ and pick your ‘Funnels/Websites’.
Go to ‘Settings’.
Paste the copied ‘Normal Snippet’ at the end of your ‘Body Tracking Code’.
Click ‘Save’.
In case, you want the number to swap on a single website/funnel page, follow these steps:
Click on ‘Edit page’.
Go to ‘Settings’ and click on ‘Tracking code’ on the top left.
Paste the copied ‘Normal Snippet’ in the ‘Footer code’.
Click on ‘Yes, Save’.
Go back to your number pool setup page.
Click on Tracking Number 4 Numbers.
Copy the swapping number and paste it on the Websites/Funnels.
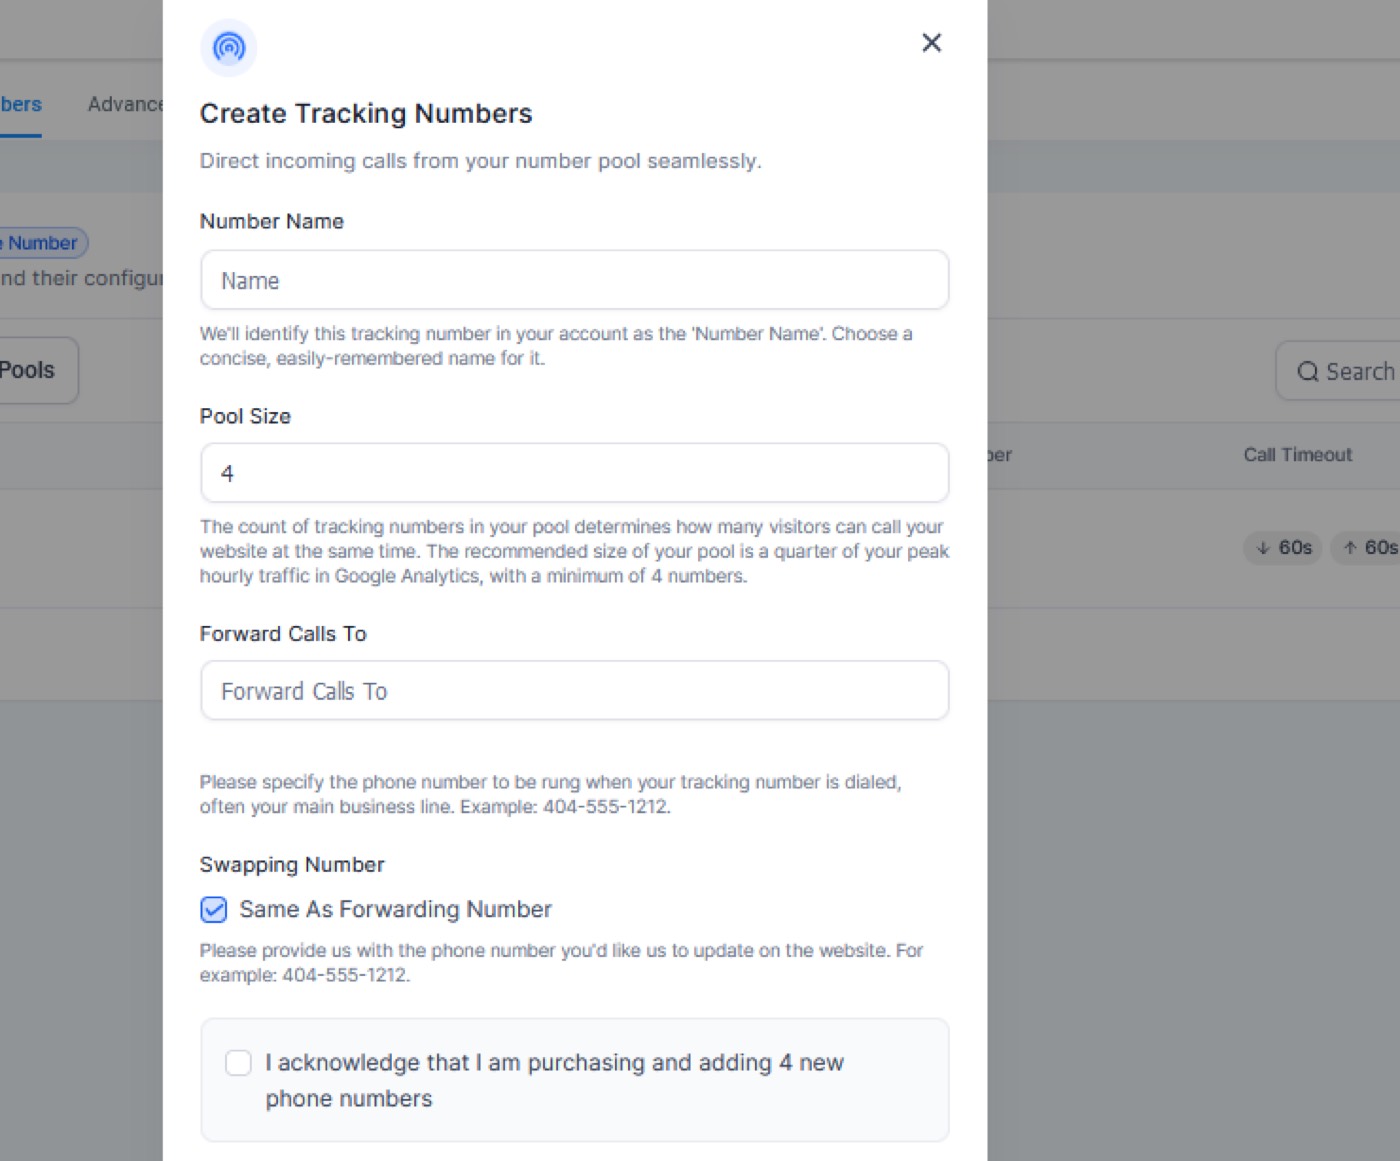
To update the swapping number go to:
‘Edit’ and uncheck the ‘same as forwarding number’ option.
Now you can set your own swapping number and paste it on the website.
The number pool is set up and running successfully. When your users search the keywords, they will land on your website and call the tracking number. Then you can look at the link the contact was visiting as well as click on the contact's name to see their activities.
★ Want this built for you? AutomateScale deploys the AI agent layer, funnels, and automations behind this — for agencies, SaaS founders, and coaches. Apply for a strategy call or subscribe to The Scale Brief.